In your toolbox, you can create and maintain a shared calendar where you can add events. Your users can see the events in the app, and they can also "subscribe" to add the events in their calendar/productivity app, so they will automatically receive updates and notifications.
It is possible to embed into the website and app an external calendar, hosted by Google or Outlook.
Only public, published calendars can be embedded. Once a public calendar is embedded into a page, it will be automatically updated when changes are made in your calendar app or provider. It is recommended to create a new, blank calendar, separate from your personal calendar, and to add the publicly shared events to it.
Example calendar, click to load and view it: Google Calendar
Readers can click on an icon to load and view the calendar, and can subscribe with their calendar/productivity app to receive future notifications.
Below are the instructions for embedding Google and Outlook calendars. Note that Google Calendars are initially shown in "Agenda" mode with only a list with future events, while Outlook Calendars are in "Month" mode where the user needs to click on a day to see the events.
Google Calendar
Create the calendar: In the left-hand sidebar, next to "Other calendars", click on the "+" (plus) icon then click on "Create new calendar". Type the calendar name (can be modified later) and press on "Create calendar".
Add events: Add at least one event, by clicking on a date and typing the event name and the time. Here is where you need to select the new calendar, in the dropdown next to the [calendar] icon.
Add event and select calendar Configure the sharing: In the left sidebar, place the mouse cursor over the new calendar name, and click on the 3 vertical dots, then in the menu select "Settings and sharing". In the section "Access permissions to events" check "Make available to public" and "See all event details".
You need to get the iCal or ICS link to this calendar. Further down in the same "Settings and sharing" page, find the link "Public address in iCal format", select it and copy it.
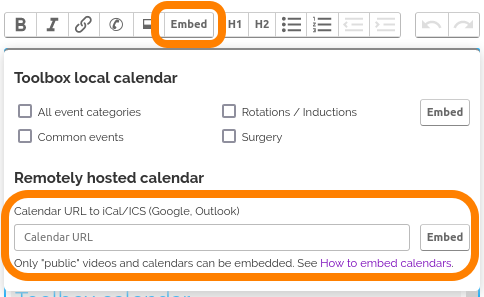
Embed the calendar in the Toolbox: In the visual editor, click on the Embed button, then on Calendar, then paste the iCal link in the form and press Embed: embed-calendar-new-ui.png32 KB
Outlook Calendar
Create the calendar: In the left-hand sidebar, click on "Add calendar" then select "Create blank calendar", type the calendar name (can be modified later), select colour and icon, and press on "Save".
Add events: Add at least one event, by clicking on a date and typing the event name and the time. Here is where you need to select the new calendar, in the dropdown near the top of the dialogue box:
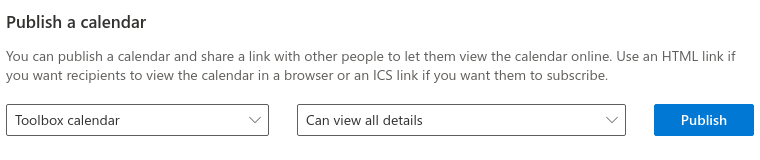
Configure the sharing: Near the top right, click on the "gear" icon to open the settings, and in the right sidebar search for "Publish" then click on the link. Alternatively, open "all settings" and go to "Calendar -> Shared calendars" and find the section "Publish a calendar". From the dropdowns, select the new calendar and "Can view all details", and press "Publish":
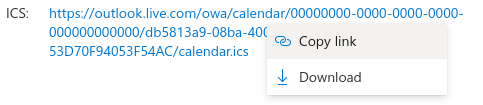
You need to get the ICS link to this calendar. Just below the above form, click on the link next to ICS: and from the menu select "Copy link".
Embed the calendar in the Toolbox: In the visual editor, click on the Embed button, then on Calendar, then paste the ICS link in the form and press Embed:
Note: This module is optional and no longer enabled by default. Please contact support to enable this module.
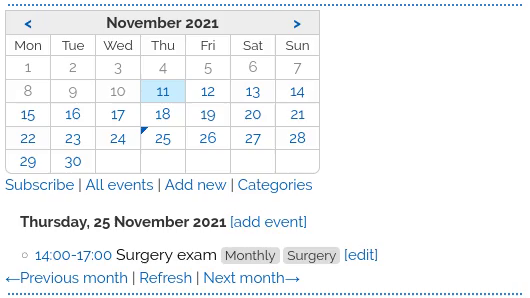
Your toolbox has a new "Calendar" module. It is integrated into the website and app and we believe it is easier to use than the external calendars. It is also well adapted for display on mobile devices, and fits in the fonts and colour themes selected by your users. Last but not least, it does not expose users to tracking by Google and Microsoft.
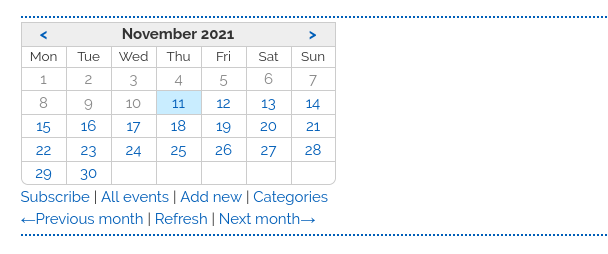
Here is an example below. Calendar: All event categories
Events are added to "categories". There is one shared category "Common events" which can contain events relevant to all users. Different specialties can have their independent categories and include only their category in their own pages.
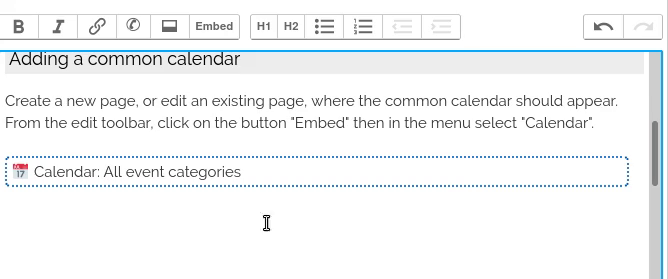
Adding a common calendar
Create a new page, or edit an existing page, where the common calendar should appear.
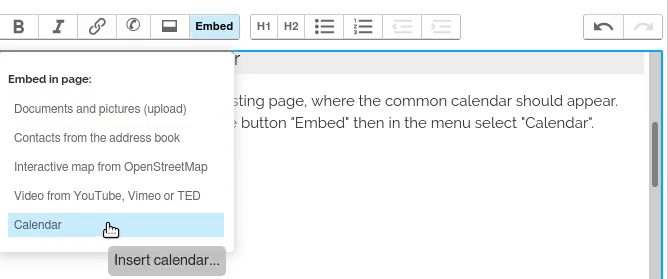
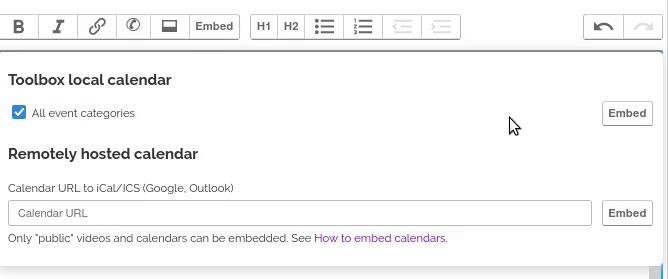
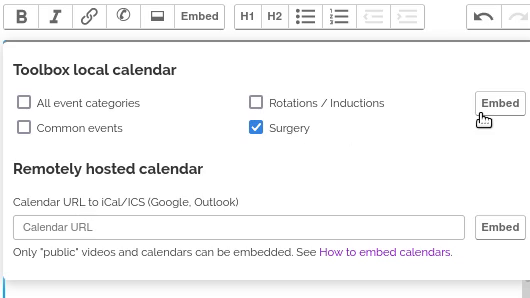
From the edit toolbar, click on the button "Embed" then in the menu select "Calendar". In the section "Toolbox local calendar" check "All event categories" and click on "Embed".
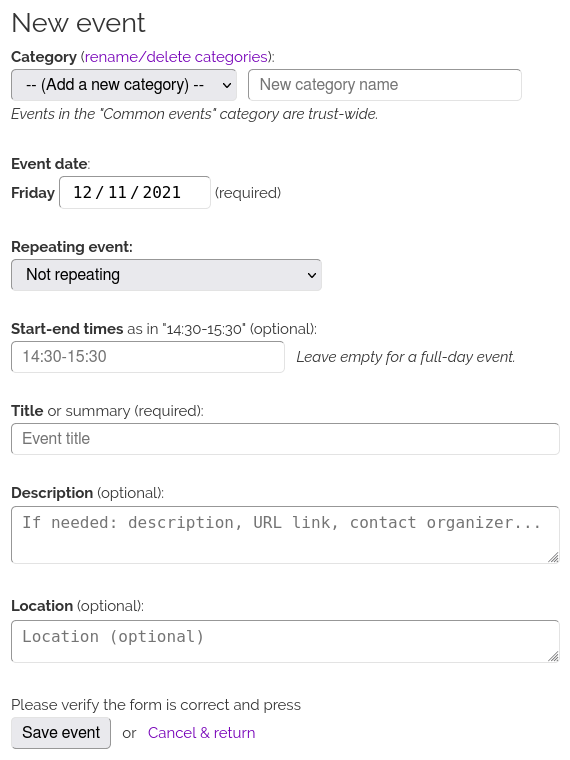
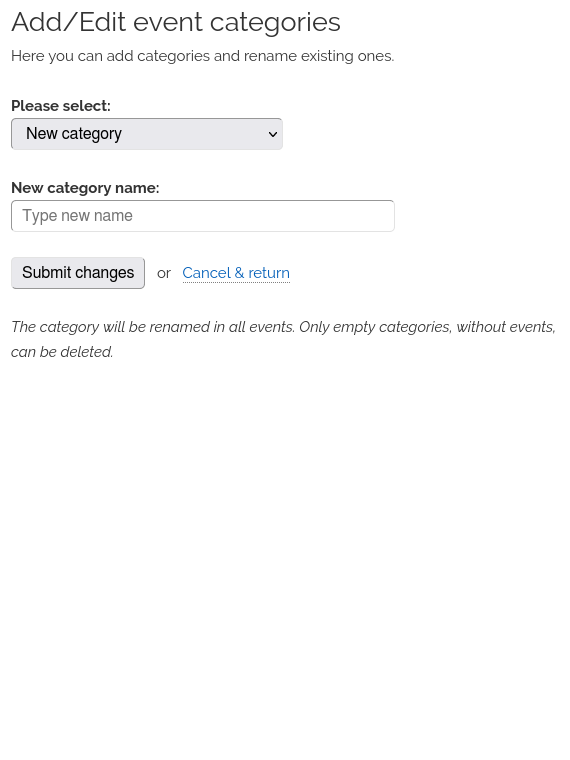
The Edit event form, and the Edit categories form should be self-explanatory. Only the Category, Date, and Title fields are required.
Including a calendar category in your page
After a category is created, you can include this category in other page(s) of your toolbox.
Edit your specialty handbook page where the calendar is to be included. From the toolbar, click on the "Embed" button, then in the menu select "Calendar" and from the dialogue box check the categories you wish to include, then click on "Embed". Then save the page.
After the page is saved, the specialty calendar appears in the page, and only shows events from the selected categories. You can then use the same controls to change months and edit events.
The "Subscribe" link allows people to add the calendar to their productivity app and receive automatic updates and notifications. This link is specific to the categories that were selected when adding the calendar, so your trainees will only receive updates relevant to them.
Please note that the Subscribe calendar interface format doesn't allow for authentication, so we cannot technically restrict these feeds to people in your trust. Anyone knowing or guessing the link may be able to see the events, and they may even appear in search engine results. The same applies to calendars with Subscribe feature hosted elsewhere, e.g. Google or Outlook (above).
By browsing you agree to our Terms and Privacy policy and accept external services. ReviewClose
We only require temporary "session" cookies for technical reasons and to personalize your experience. They are discarded after you logout or close your browser window.
We do not use external trackers or analytics platforms and do not share your information with external parties.
Our editors may embed videos from video sharing platforms: in that case, the external platform is only contacted if you click to play the video (the video titles and cover pictures are cached locally). Please review the terms for Vimeo, YouTube (Google), TED.